How & where
to inject.
Subcutaneous (SubQ) means into the fat just under the skin. Here’s how to prepare, choose a spot, and give the injection.
From the vial to the finish.
 STEP 01
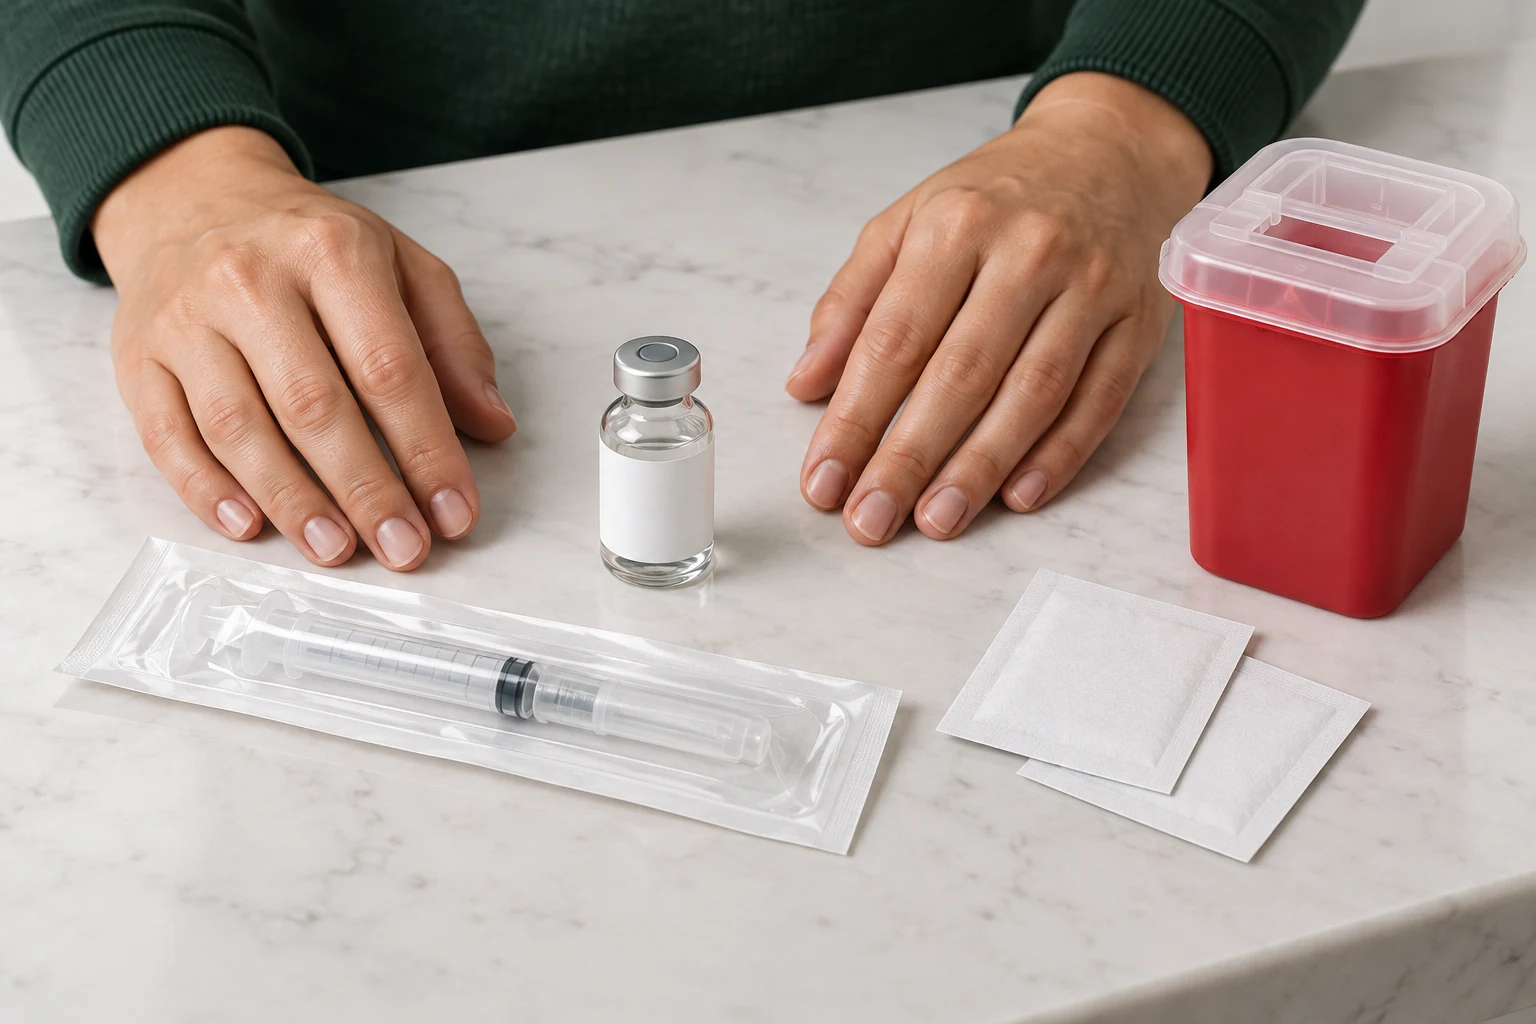
Draw the correct dose.
Take the vial out of the fridge. Wash and dry your hands. Wipe the rubber stopper with a fresh alcohol pad and let it air-dry. Use a new sterile syringe and needle.
Check the medication, expiry, and prescribed amount. Confirm the volume on your syringe matches the dose and the vial’s concentration. Syringe “units” are not the same as mg or mcg.
- For a standard vial, draw air equal to the liquid volume you need, then inject that air into the vial.
- Turn the vial upside down. Keep the needle tip in the liquid and withdraw slowly.
- Tap bubbles upward, push them back into the vial, and recheck the dose before removing the needle. Keep the needle untouched.
Return a refrigerated multi-dose vial to its required storage promptly. Need to mix a powder first? See the reconstitution guide.
 STEP 02
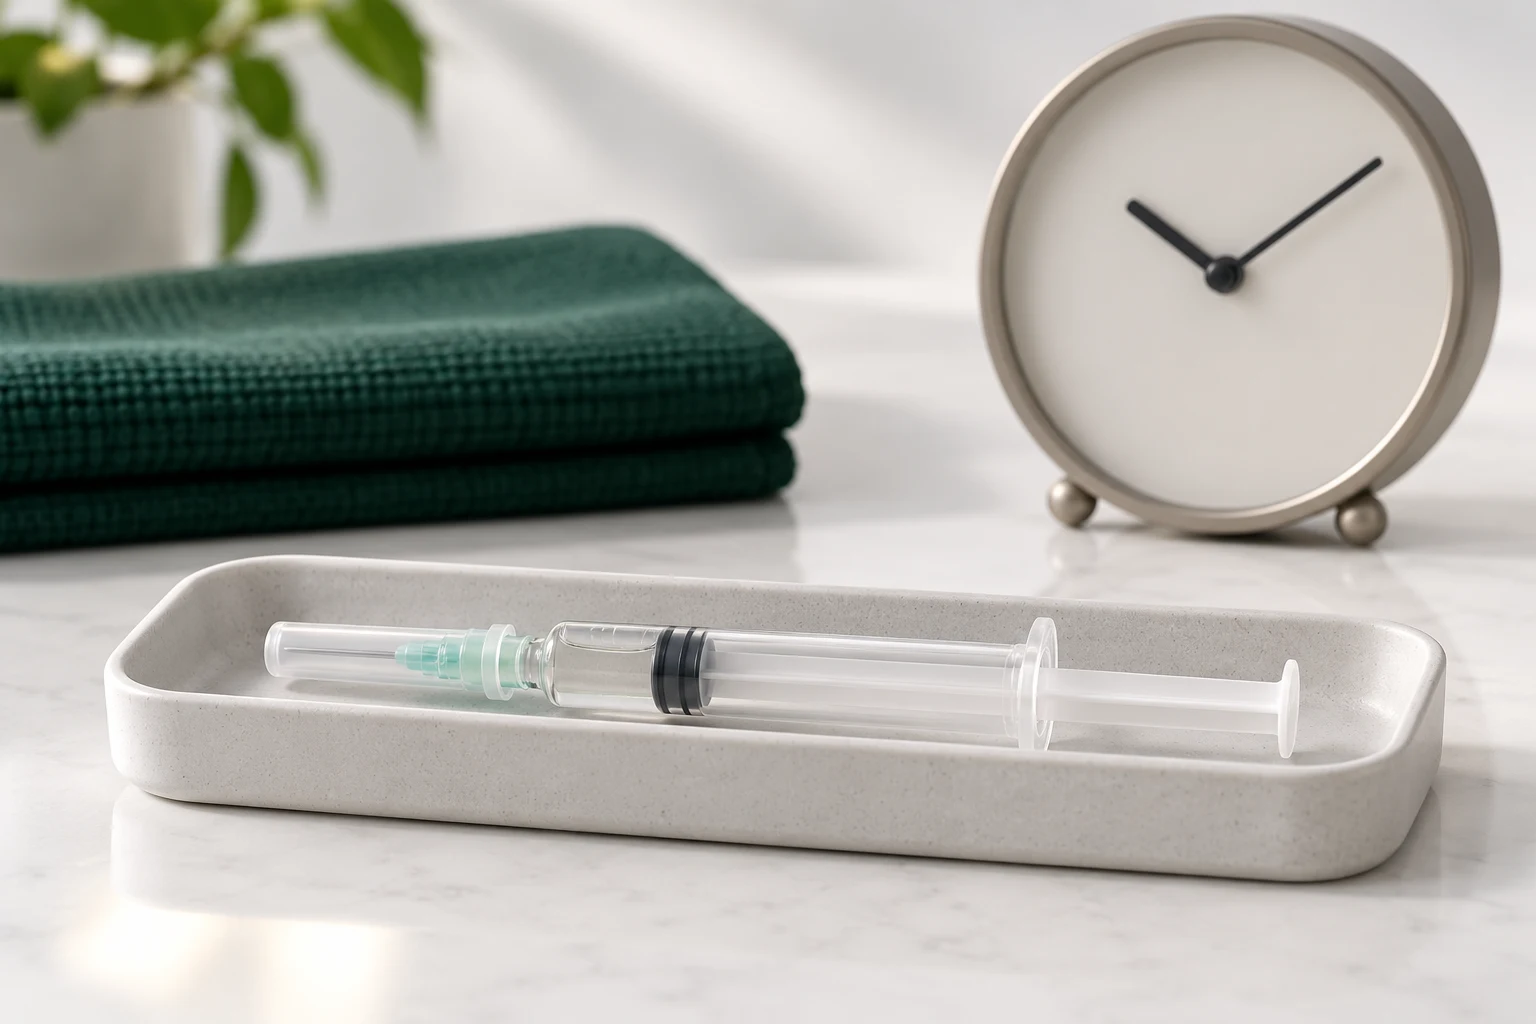
Let the syringe reach room temperature.
Let the filled syringe sit at room temperature for 20 minutes (only if your medication’s instructions allow this wait in a filled syringe).
Keep the needle sterile and protected with its cap. Do not use hot water, a microwave, or another heat source.
If there are no instructions allowing a wait after drawing, prepare the dose just before injecting.
Room-temperature medication may feel more comfortable than a cold injection. It does not prevent every reaction. Factory-prefilled syringes have their own warming times; those times do not automatically apply to a syringe you fill yourself.
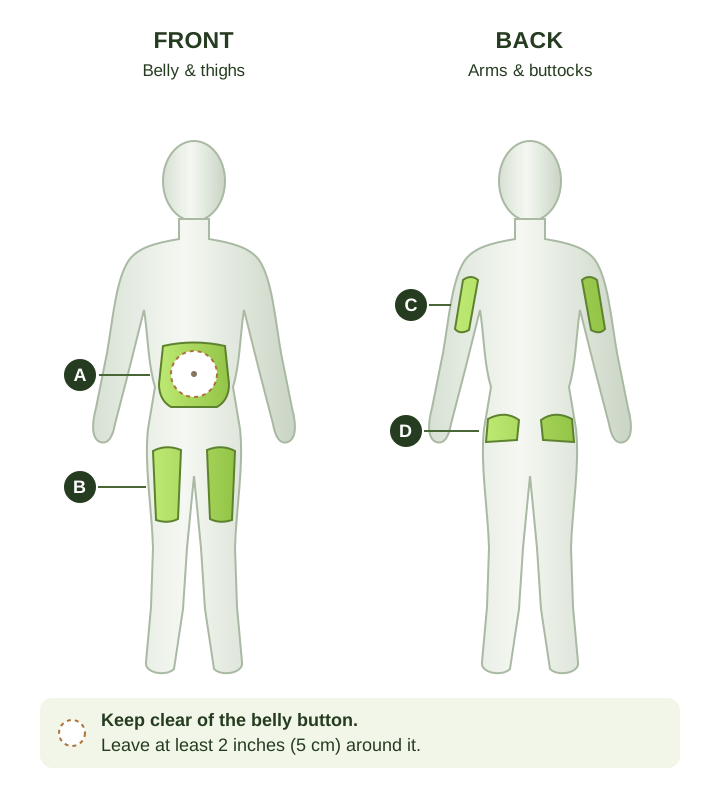
Green = common areas. Use only the sites allowed for your medication. Diagram is not to scale. STEP 03Choose a fresh spot.
The belly and thighs are usually easiest to reach yourself. Choose healthy skin with a soft layer of fat.
- A Belly
- Stay at least 2 inches (5 cm) from the belly button, below the ribs and above the hip bones.
- B Thighs
- Use the middle front or middle outer part of the thigh.
- C Back of the upper arm
- Have someone else give it here so the skin and syringe can be held properly.
- D Upper outer buttocks
- An option when your medication allows it and you have been shown where to inject.
Rotate every time. Move at least 1 inch (2.5 cm) from the last spot. Avoid red, bruised, tender, swollen, hard, scarred, or damaged skin.
Alternate sides and keep a simple note of the last spot. Repeatedly using one point can cause sore areas or lumps and affect absorption.
 STEP 04
Clean the skin.
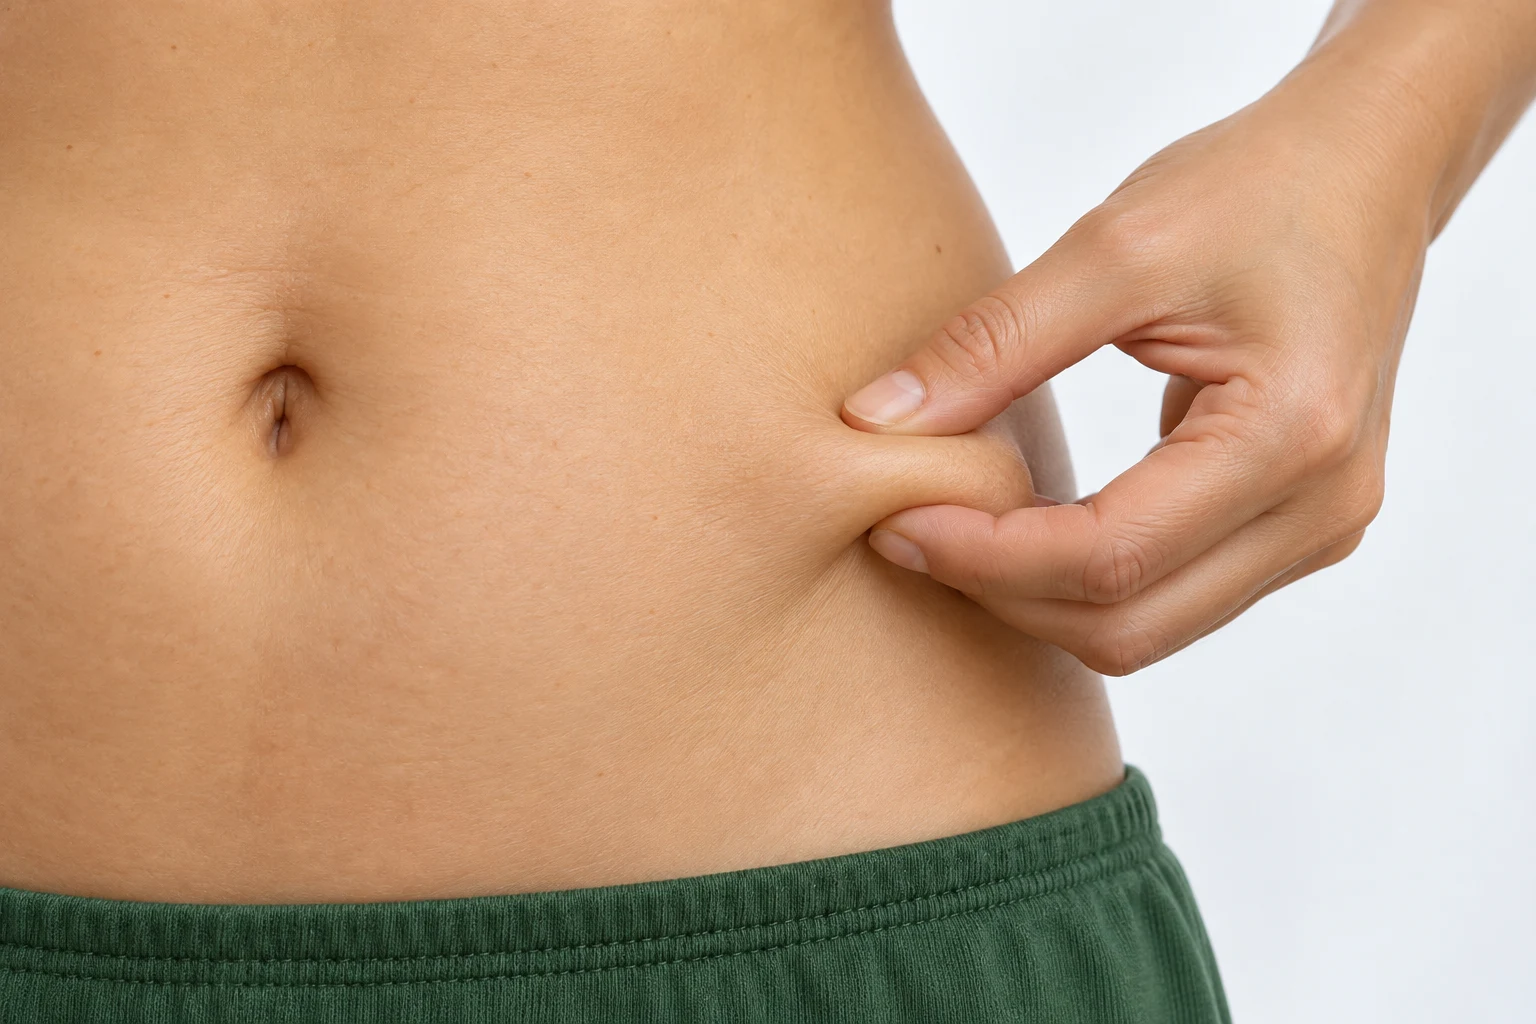
Then gently pinch.Wipe the chosen spot with a fresh alcohol pad. Let it air-dry completely. Do not blow on it, fan it, or touch the cleaned spot.
With your free hand, gently lift a fold of skin and fat between your thumb and index finger. Lift the soft tissue without squeezing hard.
Keep the muscle underneath relaxed. Use the skin-fold technique demonstrated for your needle; very short needles may use a different method.
Keep the needle untouched. If it touches your fingers or a surface, replace it with a new sterile needle or syringe.
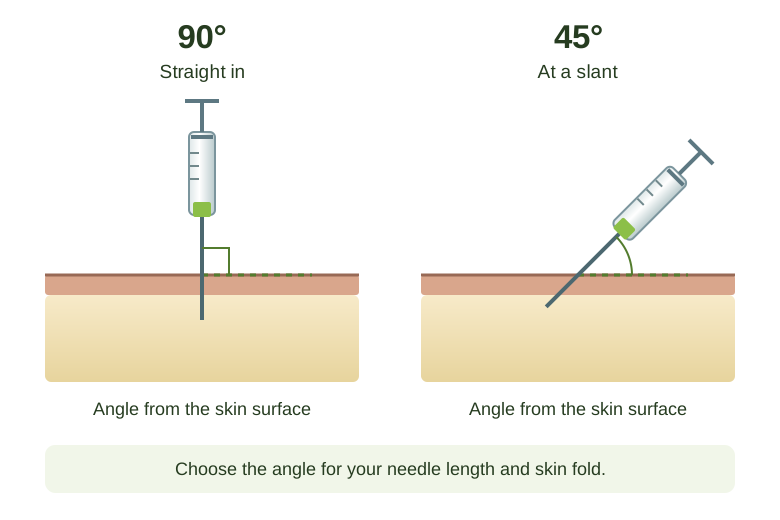
Angles are measured from the skin surface. Needle depth and anatomy are not shown to scale. STEP 05Use the right angle.
90° means straight in. 45° means diagonally in. Use the angle you were shown for your needle length and the amount of fat at the site.
A short needle is commonly used at 90°. A 45° approach may be needed with a longer needle or less fat. The goal is to reach the fat under the skin.
- KEEP YOUR HAND STEADY
- 1Insert smoothly
- 2Press the plunger slowly
- 3Withdraw at the same angle
STEP 06Insert. Press. Withdraw.
Hold the syringe like a pencil, keeping your thumb off the plunger until the needle is in. Insert with a smooth, quick motion at the chosen angle.
Keep the syringe steady. Slowly press the plunger until the full dose is delivered, then remove the needle at the same angle.
Keep or release the skin fold as you were taught for that needle. Do not change the angle while the needle is in the skin.
A pen may require holding its button down for a specific time after the dose. Follow the pen’s instructions rather than this manual-syringe sequence.
 STEP 07
Press gently. Dispose safely.
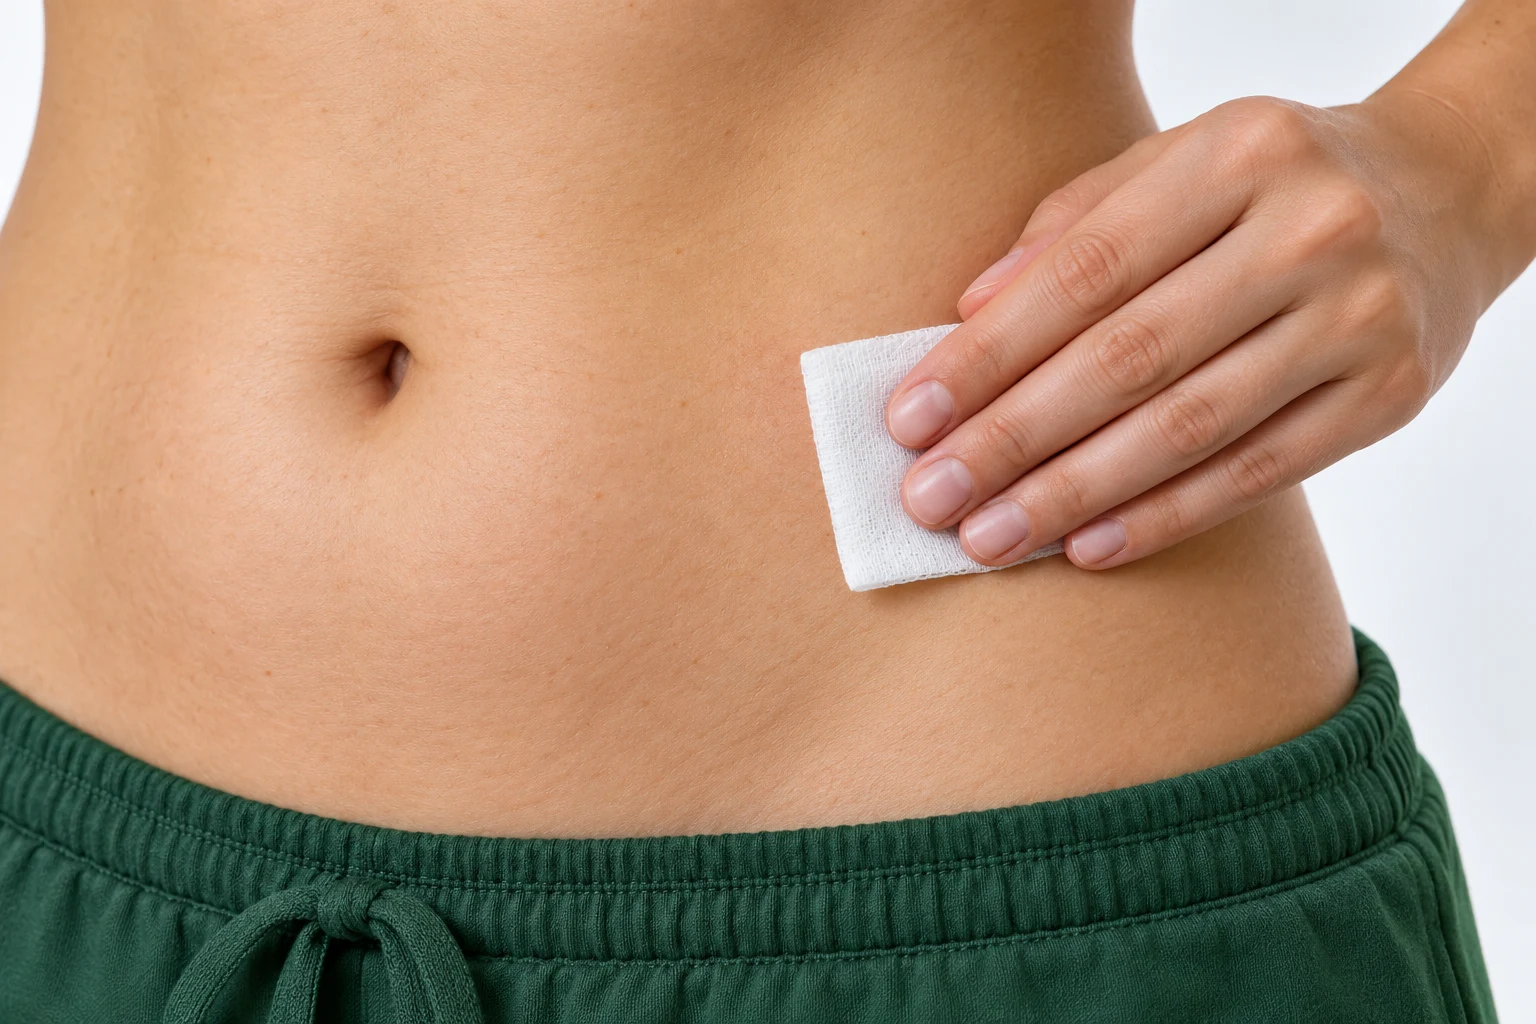
If there is a small drop of blood, hold clean gauze on the spot for a few seconds. Do not rub or massage it.
Put the used needle and syringe straight into a sharps container. Do not recap, bend, break, or reuse the needle. Never put loose needles in household trash or recycling.
Keep the sharps container upright and out of children’s reach. Close it at its fill line and follow local disposal rules. Wash your hands when finished.
Itching & irritation.
Keep it cool and gentle.
A little soreness, itching, redness, or swelling can happen. A clean, cool compress can help with mild discomfort. Avoid scratching or rubbing the site. Get advice if it persists.
Biofreeze Professional spray on Amazon is for muscle and joint pain. Do not use it on irritated skin or a fresh puncture. It is not an injection-site itch treatment.