
Peptide
Reconstitution.
A step-by-step guide to clean vial handling, measuring the correct diluent, gentle mixing, and storing the finished solution.
See the seven stepsFrom preparation to storage.
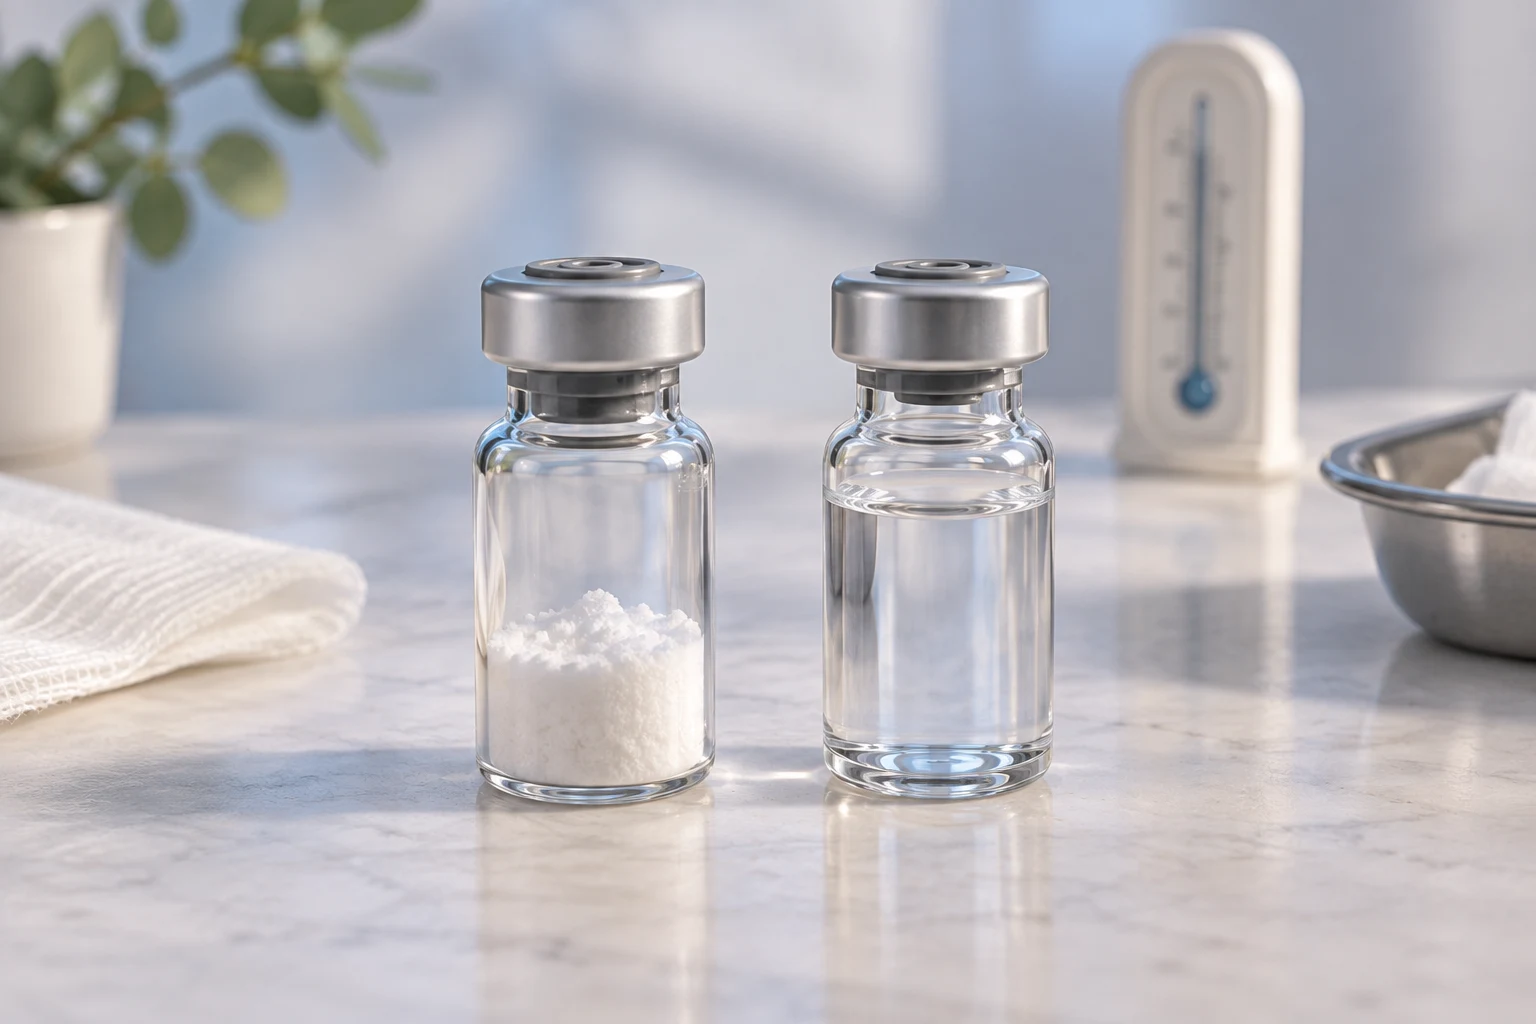 STEP 01
Before mixing: check the temperature.
Check the water type, mixing amount, and preparation temperature. Let the sealed vials sit at room temperature for 20 minutes (only if your compound’s instructions call for this wait).
Keep the vials closed while they stand. Do not use a microwave, hot water, or another heat source.
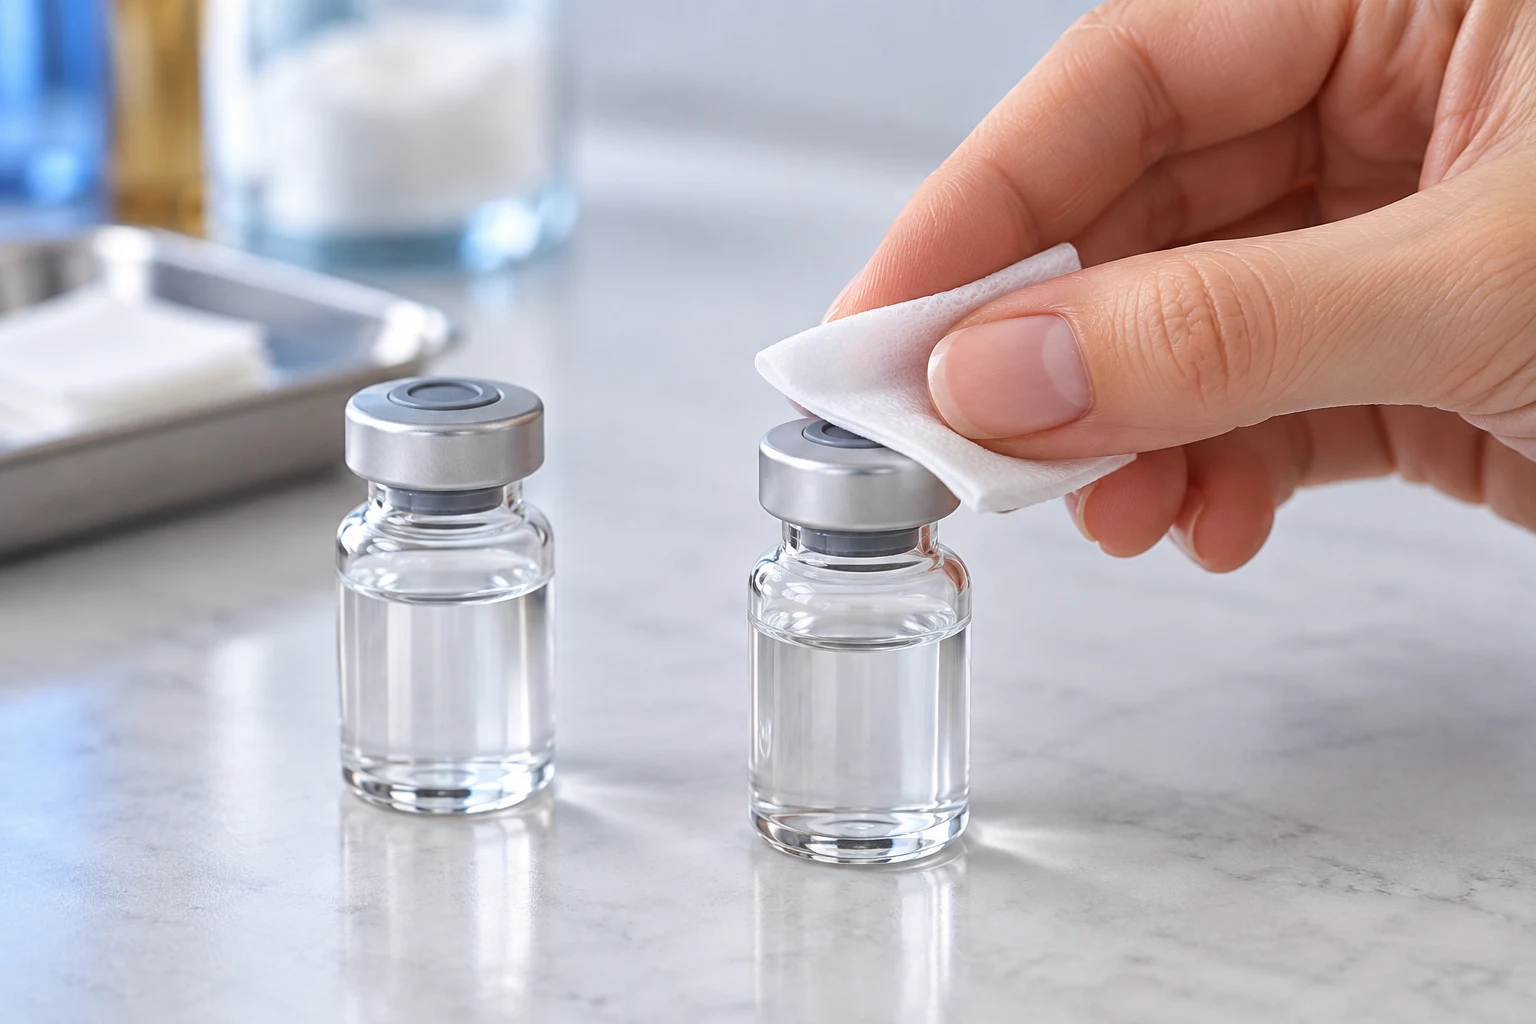 STEP 02
Wipe both vial tops. Let them dry.
Wash your hands and clean your work surface. Use a fresh 70% alcohol prep pad on each rubber stopper, then let both air-dry completely.
Wipe the peptide vial and the bacteriostatic-water vial. Keep your fingers off the cleaned rubber tops. Do not dry them with a towel. Keep sterile needles and syringe tips untouched, and clean the stopper again before later access.
Alcohol first. Air-dry next. Then access the vial.
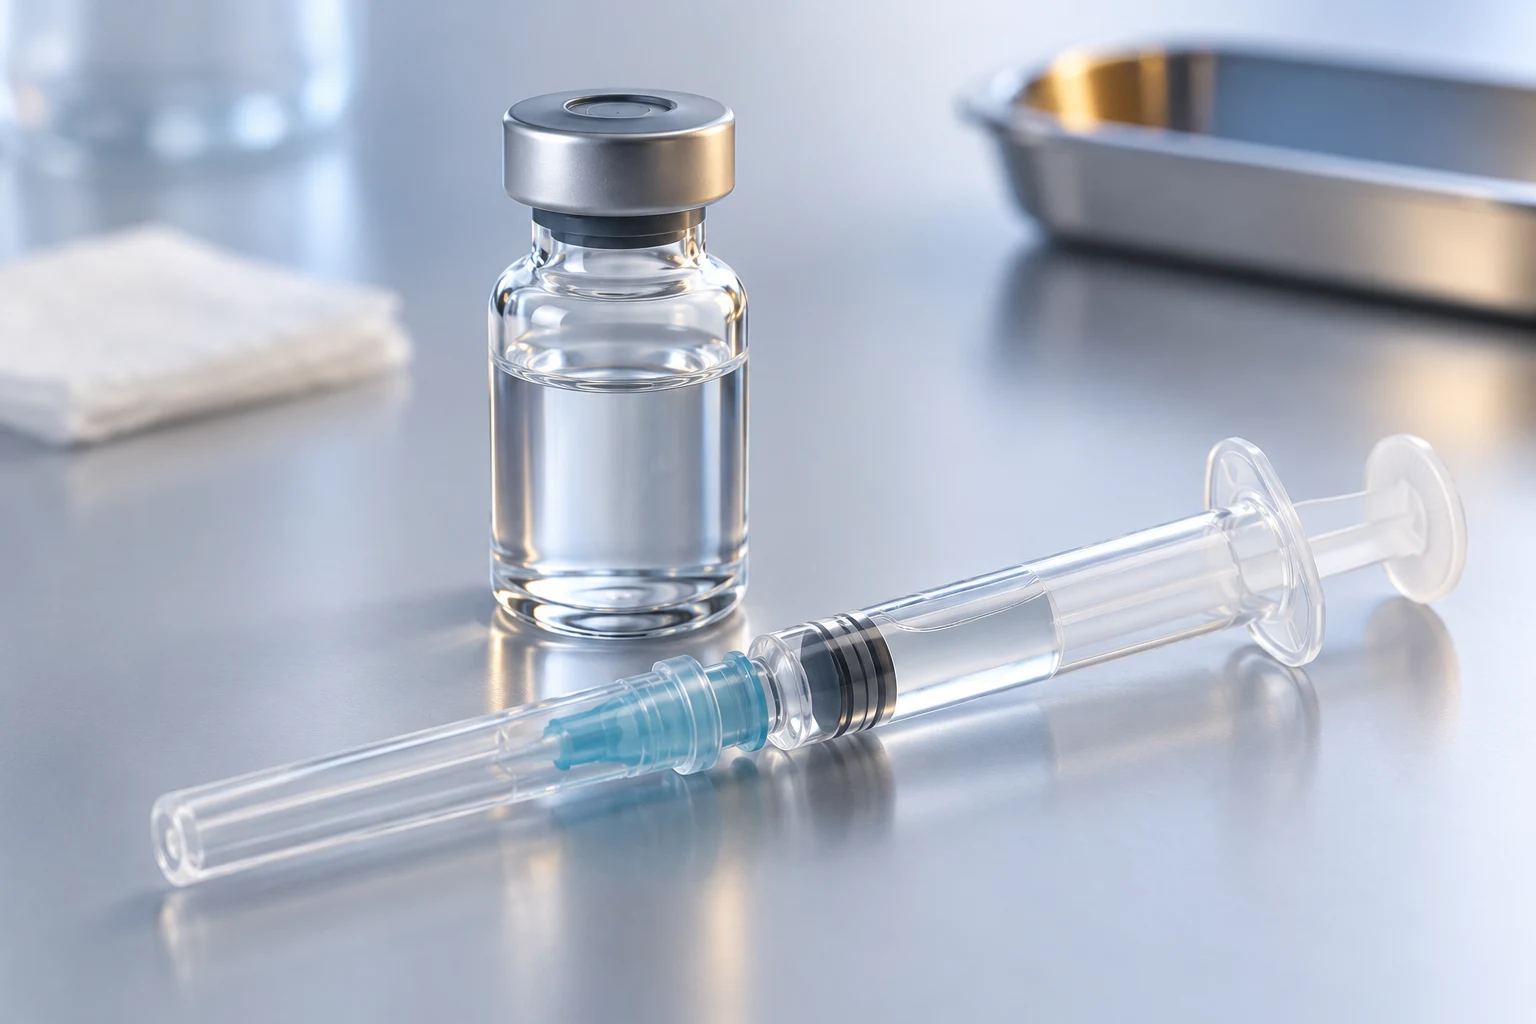 STEP 03
Draw up the bacteriostatic water.
Use a new sterile syringe and needle. Draw up the exact amount of bacteriostatic water listed in the mixing instructions.
Check the syringe markings carefully. A 1 mL syringe does not mean every vial needs 1 mL of water. The water amount determines the concentration, so confirm the volume before transferring it.
Double-check the amount in the syringe before adding it to the vial.
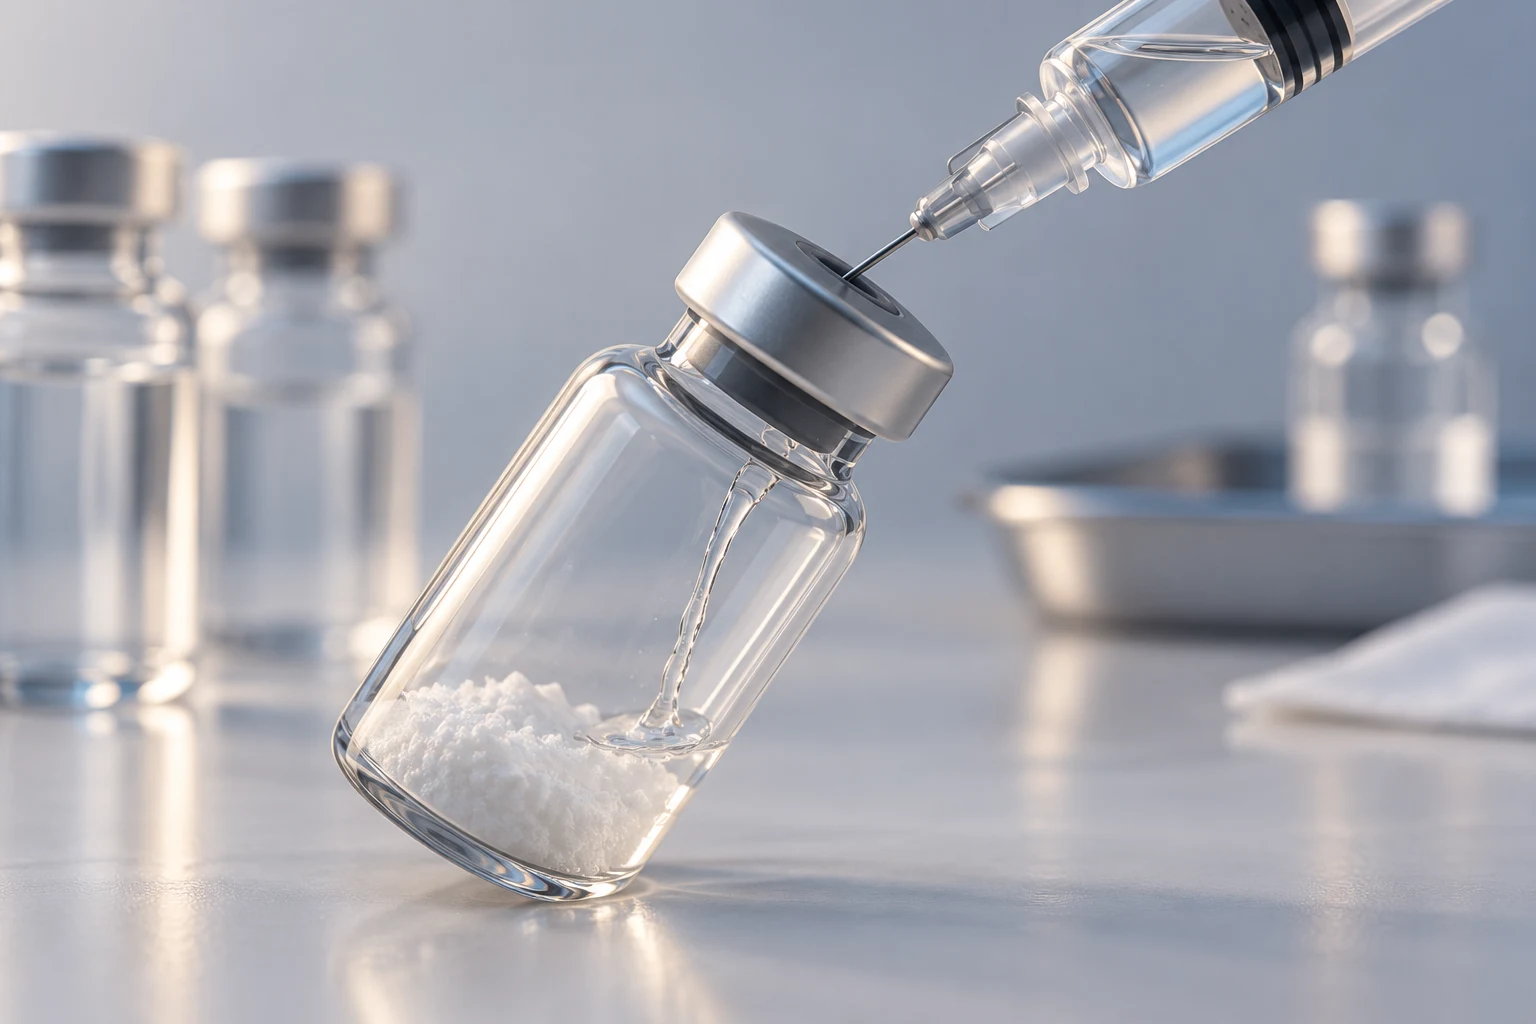 STEP 04
Add the water slowly down the wall.
Angle the vial and direct the water slowly down the inside glass wall. Keep the stream gentle to reduce foaming.
Keep the syringe steady and the flow controlled. A vial’s vacuum may help draw the water in; some vials need gentle pressure on the plunger. Do not let the liquid rush in or force it against strong resistance.
The aim is a controlled transfer, without a forceful jet or foam.
 STEP 05
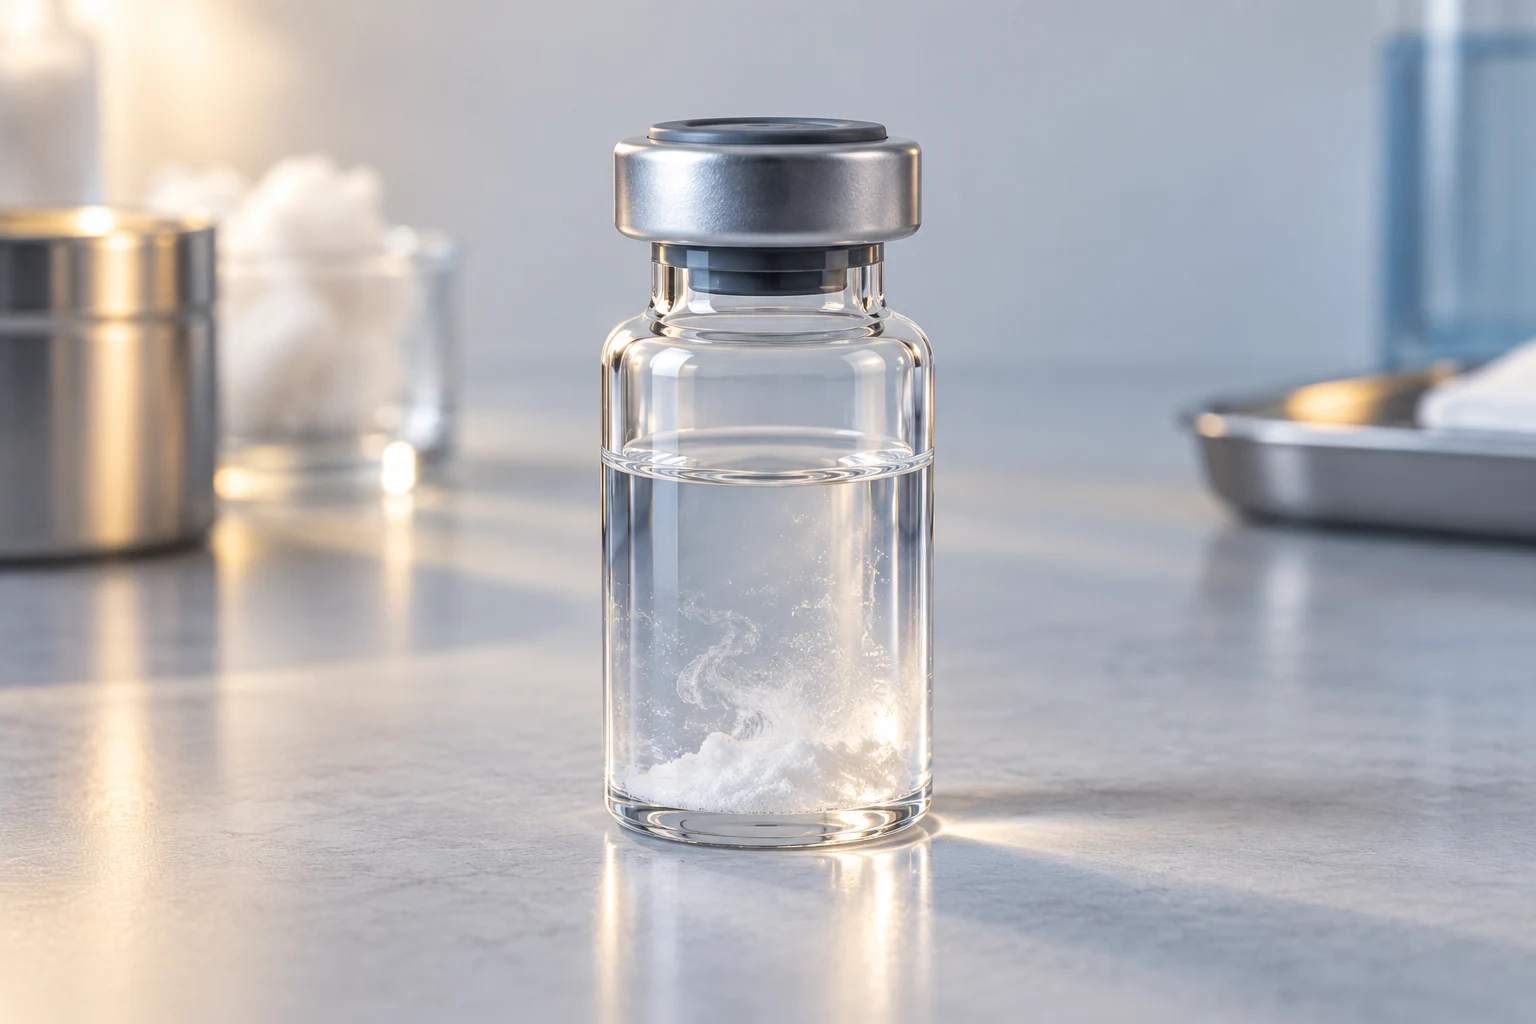
After adding water: let the powder dissolve.
Leave the vial on a clean counter for 20 minutes (only if your compound’s instructions call for this wait). Then move on to gentle mixing.
 STEP 06
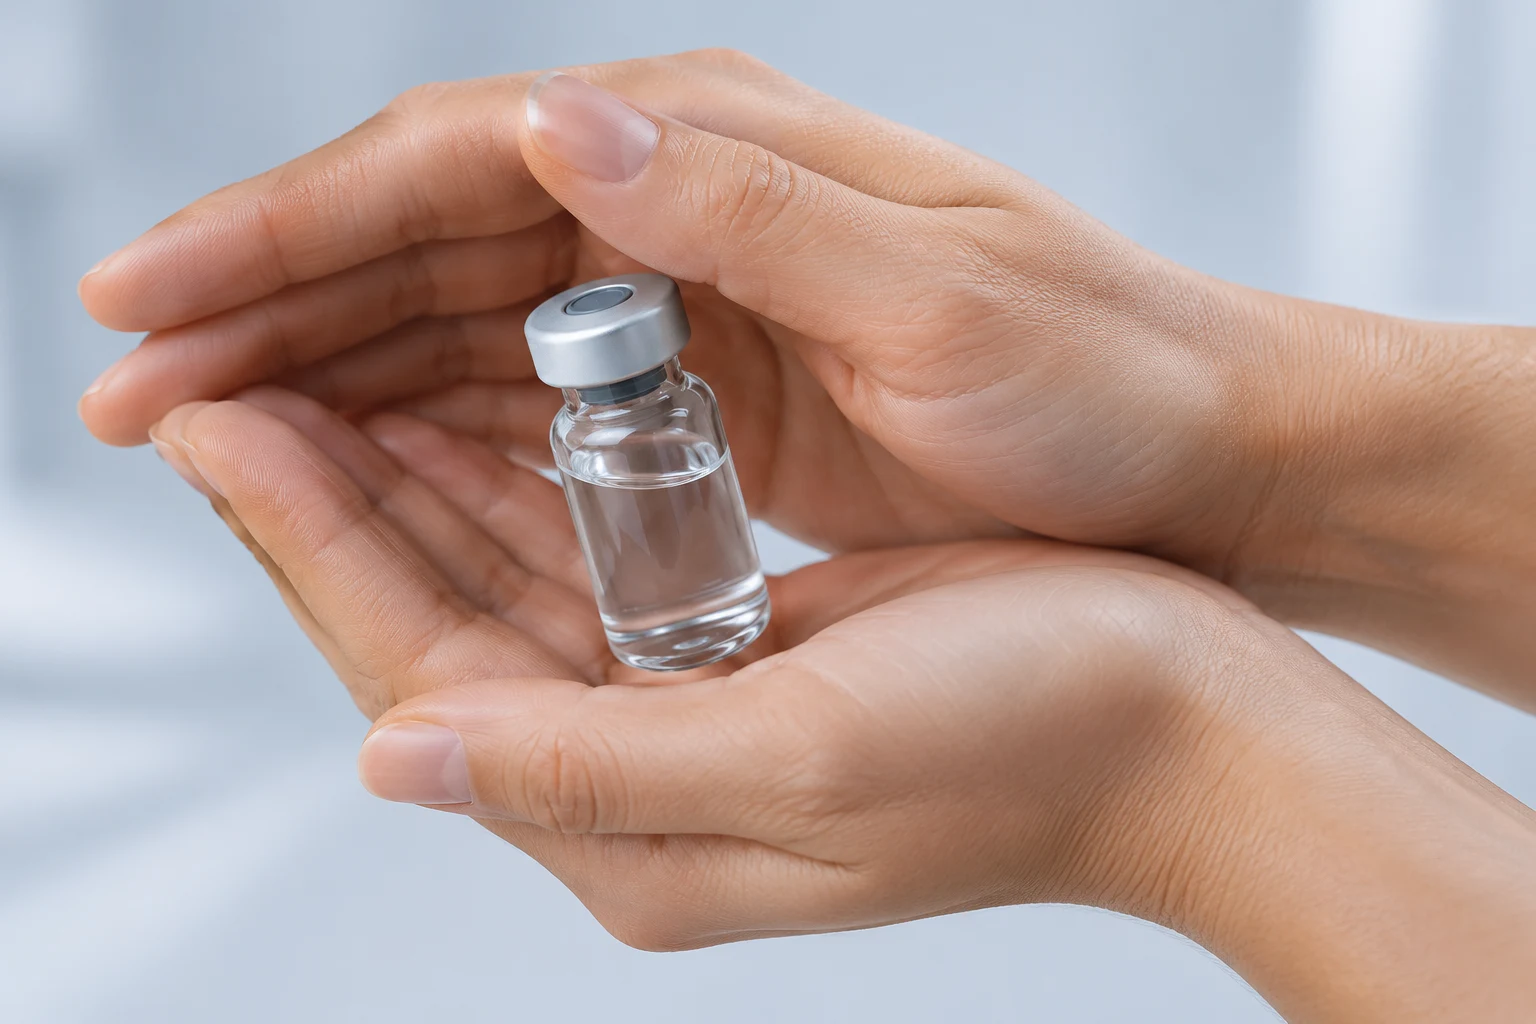
Roll gently between your hands.
Roll the vial gently between your hands to help the powder dissolve. Do not shake it vigorously.
Check the solution against its expected appearance before use. Unexpected cloudiness, particles, or a color change mean stop and contact the dispensing pharmacist. A clear-looking solution alone does not prove that it is sterile.
Use a slow, gentle rolling motion.
 STEP 07
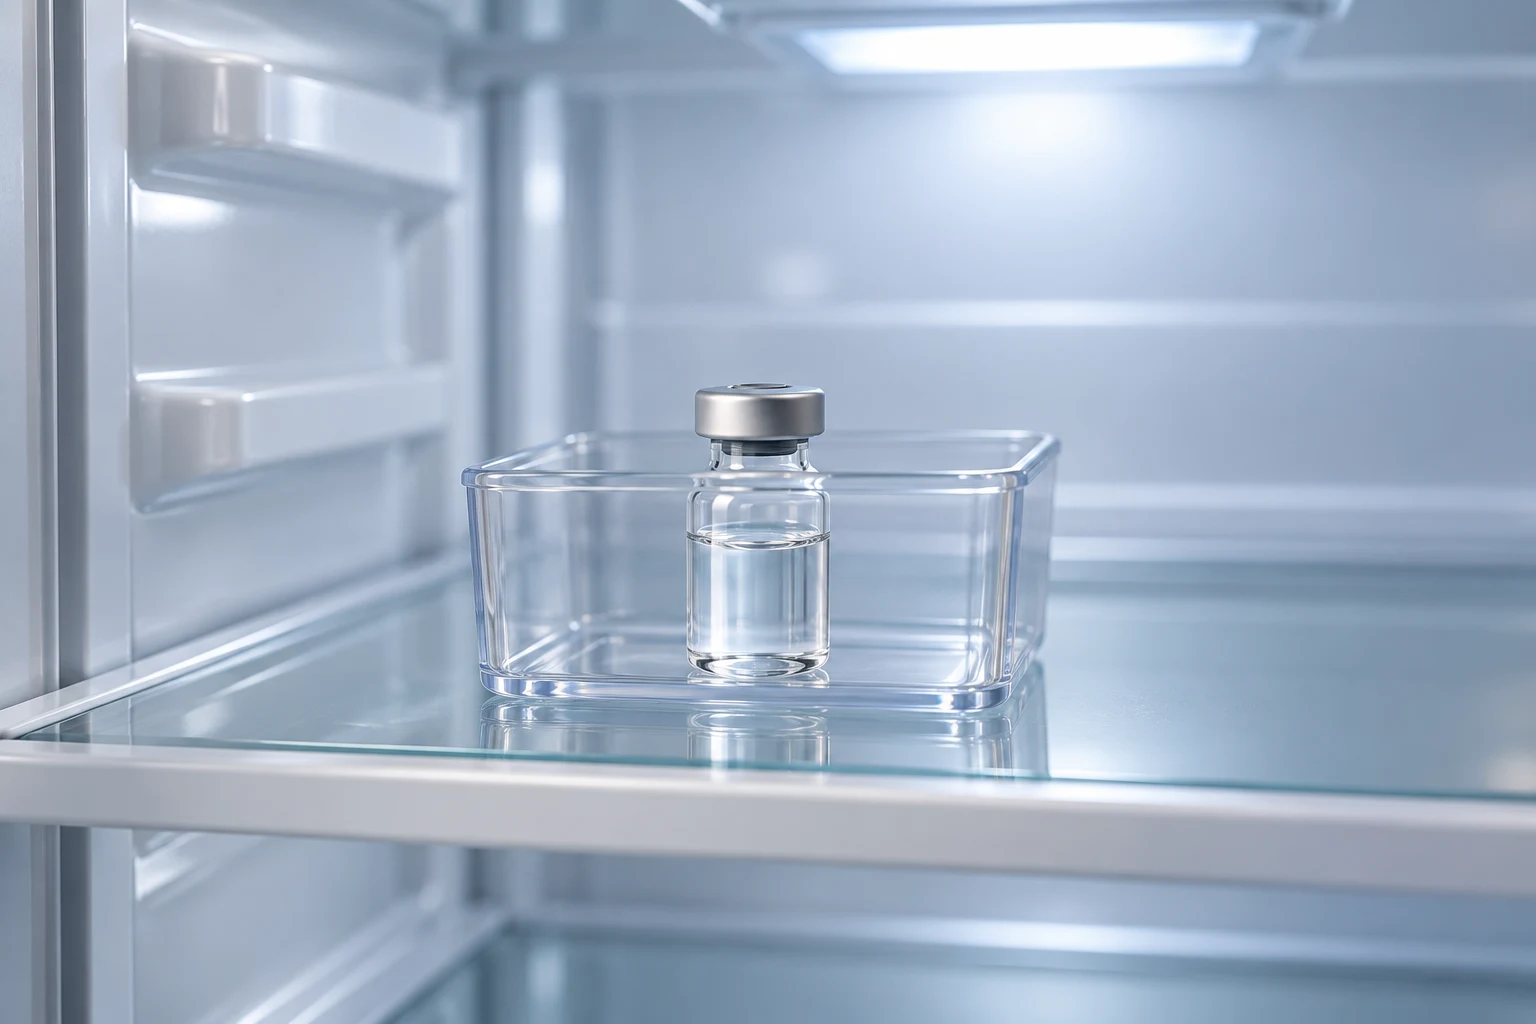
Store the mixed vial.
Refrigerate products that require cold storage. Use the specified temperature and storage period for your vial.
Some formulations need immediate use or room-temperature storage instead. Check which applies before putting the vial away.
Put used needles and syringes straight into a sharps container.